We are already in process of building our simple Raspberry Pi projects, however I have received few queries on how to enable SSH in Raspberry Pi. So I thought I will write this post to share the details.
Enable SSH in Raspberry PI with monitor, Keyboard & mouse connected to Raspberry is pretty simple. You can refer my post Setup Raspberry Pi 3 for your IoT Projects & follow the steps to install NOOBS & boot to the home screen. Once you get in to the Pi Home screen , you can go to Preferences & click on Raspberry Pi Configuration .
This will bring up the configuration screen , go to the Tab Interfaces & select the radio button enabled for SSH. This will enable SSH to the PI & you can also enable Camera, VNC, Remote GPIO Pin etc in this screen.
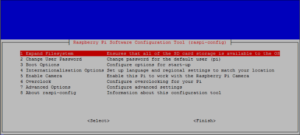
You can also go to Raspberry pi configuration screen through command Sudo raspi-config.
Now the interesting part was , how to enable SSH in Raspberry Pi with out monitor. You dont want to buy an HDMI cable & HDMI supported monitor to setup Raspberry Pi. Lets find out how we can enable SSH with out connecting monitor, keyboard or mouse to your Raspberry Pi.
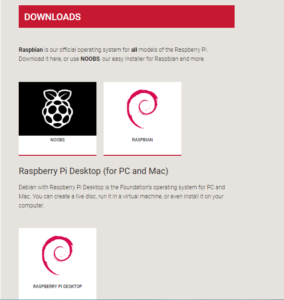
To start you need to have different operating system, as NOOB will take you to the screen where you need to select the installation & configuration on the screen. So lets start with download of the Raspbian Operating system Raspbian Stretch lite from https://www.raspberrypi.org/downloads
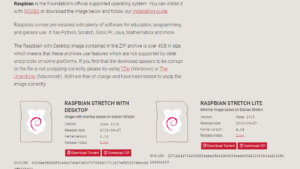
Go to the downloads location & select Raspbian & in the next page click on download Zip below Raspbian Stretch Lite.
Extract the zip folder & you will get the image file "yyyy-mm-dd-raspbian-stretch-lite" , The date, month & year will change as new versions are released.
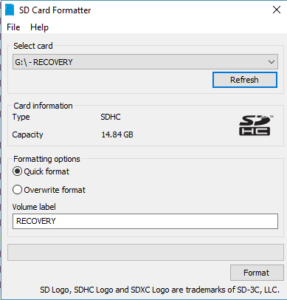
Keep your Micro SD card formatted & ready for installation. Just make sure you are selecting the right drive letter.
To write the image to Micro SD card, you can use Win32disk imager or Etcher. Refer the installation instructions to install Etcher.
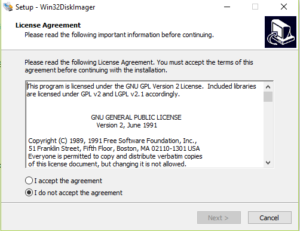
I have used Win32disk imager, you download it from the link and run the EXE to install.Follow the installation instructions, select I agree for license agreement & click next.
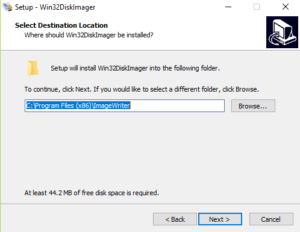
Select the installation location , click next
Select the options in other screens & click next,you can keep them default & installation will progress. It may take few minutes.
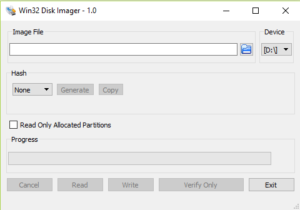
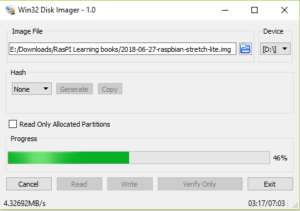
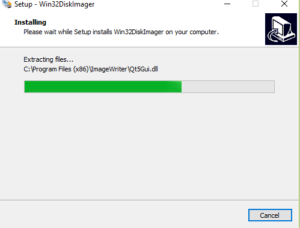 Once the installation is completed click om Finish & the Win 32 disk imager will be opened. By default the drive letter will be assigned to Micro SD card inserted to your PC, however make sure you double check & confirm the drive letter.
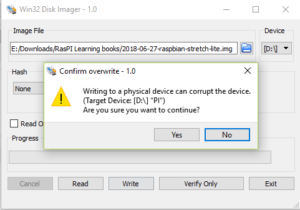
Select the raspbian-stretch-lite.img file & write to Micro SD Card. You will be prompted with a message that all files will be erased, click on yes to confirm.
It will take 5 to 10 min to complete the image writing. Let us wait!.
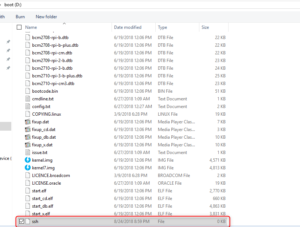
Once the installation is completed, go to drive letter/boot.
create file in the name ssh in the boot partition folder. The file ssh is with out extension.you can simply create a text file and rename to ssh, remove the extension .txt.
Insert the micro SD to the Raspberry Pi , Connect the Ethernet cable to Pi , Micro USB cable & power on the device.
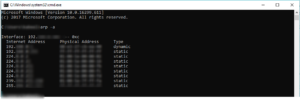
To connect the Raspberry Pi through SSH, you need to know the ip address of the device. You can get that from your router or you can run the command arp -a from the computer which is in the same network which will list the ip address of the devices connected in the same network. you can identify the ip for the Raspberry pi from it & use to connect to SSH.
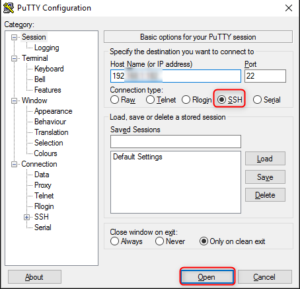
To connect to the Pi we need a SSH client software, we can use Putty for this. Download Putty from here.
Once you run Putty, enter the IP address of the Raspberry Pi , click on open. enter the default user name , password.
Default user name: pi
Default password: raspberry
you are connected to the raspberry pi now and don't need a monitor , keyboard or mouse to work on your raspberry pi.
To connect through SSH with out Ethernet cable & directly with WiFi , create a "wpa_supplicant.conf" file in the boot partition & enter the below details in it.
ctrl_interface=DIR=/var/run/wpa_supplicant GROUP=netdev
update_config=1
network={
ssid="YOUR_NETWORK_NAME"
psk="YOUR_NETWORK_PASSWORD"
proto=RSN
key_mgmt=WPA-PSK
pairwise=CCMP
auth_alg=OPEN
}
Enter your network name & your network password . I have tried this , it has worked some cases & some of the time it has not worked where I had to edit "/etc/network/interfaces" or "/etc/dhcpcd.conf " I still need to get a clear picture on what works on which cases so I am not giving more details on this here. You can refer the link which will give some clarification on this. You will not be directly able to access the locations ./etc if you are using windows machine as these partitions are Linux partitions. you will need special software do this. To access Linux partition in Windows I would recommend the software Ext2Fsd, you can download & install it from here. By this software you can connect the SD Card & access the folders directly & make the changes required.
